Mar 20, 2017
Discussion:
Before you begin using the Arduino IDE, you must first learn how to download, install, and set your preferences. This lesson is specifically tailored for those who use a Mac. (The last lesson covered this same topic, but for PC users.)
I'm currently running Mac OS X Yosemite. You are probably running a newer version of Windows. However, the following instructions will be almost identical from one version to the next. If this should ever change, I’ll update this lesson to reflect those changes.
Find the Arduino IDE Download
First, jump on the internet with your favorite browser, and navigate to www.arduino.cc. Look for the tab labeled “Download”.
The page on which you land might look a little different than this. It does change from time to time, but there will always be an obvious tab for Download.
Go ahead and click Download. We're currently working on version 1.6.5, and what you'll do is select your operating system.
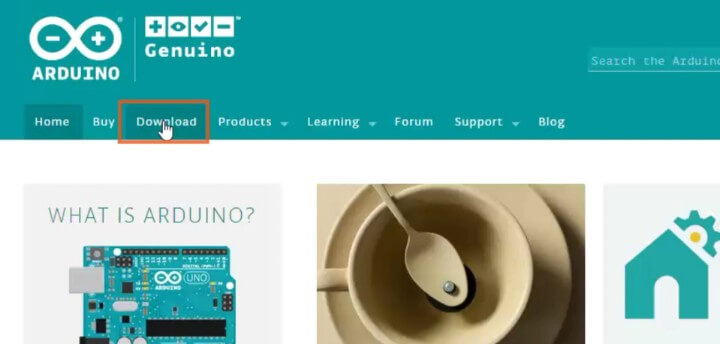
Click on that “Downloads tab”. That will bring you to the “Download the Arduino Software” page.
Once on this page, choose your operating system. For Mac users, you have two options.
You can download from the green panel:
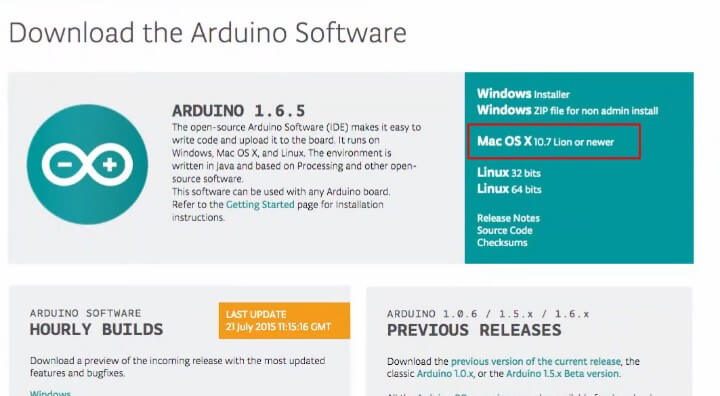
Or you can get the absolute latest, razor-sharp release of the Arduino IDE. This is found in the section labeled “Hourly Builds”.
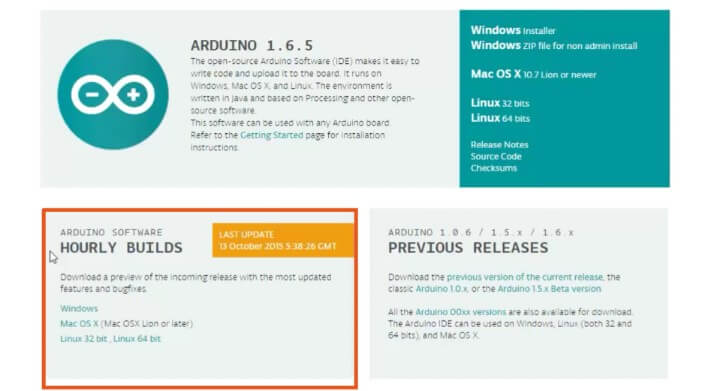
If you want the most recent update, you can download from this section. But this is just as the name implies. The information here can be updated as often as hourly, and may not be as stable as an official public release.
Therefore, in this lesson, I will demonstrate the Windows Installer. This is the best route to go in almost any case. It’s rare that another option is better.
Download and Install
I’m using Mac OS X. Therefore, I'll click that. It then prompts me to save a Zip file.
It doesn't matter where you save this Zip file. I'm going to save it to my Downloads folder.
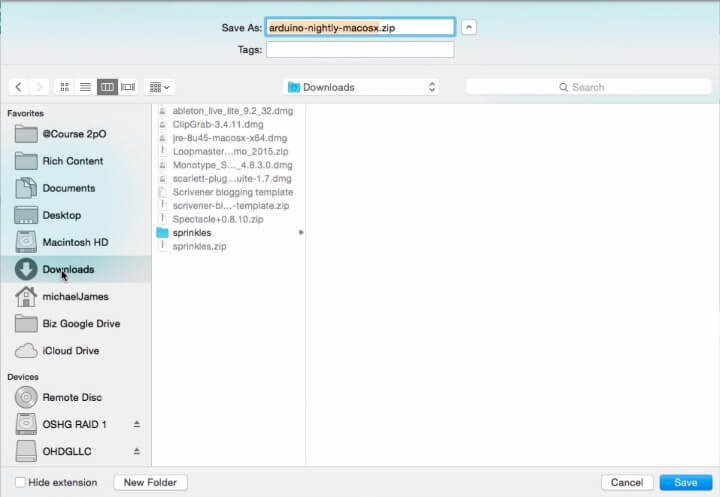
I'm going to save it to my downloads folder. This will initiate the download.
It’s not a big file. It’s around 131 Megabytes for this current release. I have just an everyday, run of the mill cable internet connection, and yet it still doesn’t take very long to download.
Once it's completely downloaded, I'm going to find it using “Finder”. It found it in my Downloads folder.
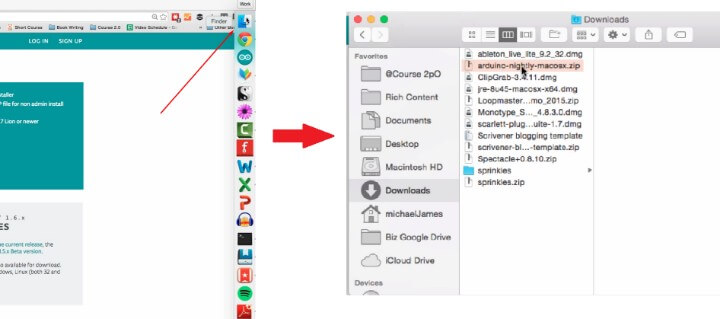
Double-click your Zip file. The Archive Utility for Mac will automatically unzip it for you.
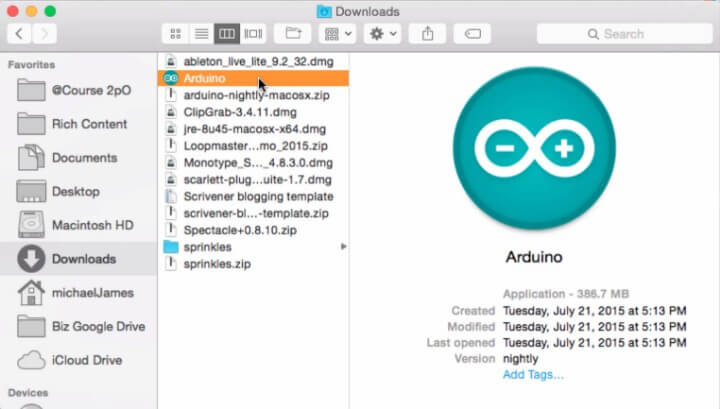
After the Zip file has been unzipped, you'll see that the Arduino IDE icon will be created inside whatever folder you unzipped the Zip file. (I'm just trying to see how many times I can say "Zip".)
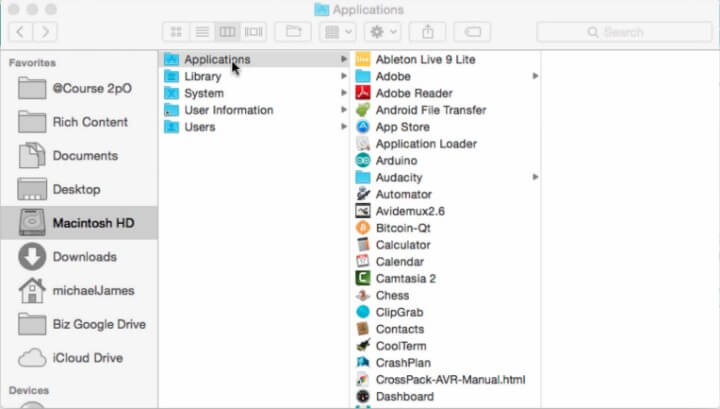
I'm going to move the Arduino program to the Applications folder on my Macintosh computer. So go to the Macintosh hard drive, then Applications, and then drop it in there.
Now, I already have Arduino installed. If you already have an older version of Arduino installed, it will ask if you want to first uninstall the older version before continuing the download of the newer version.
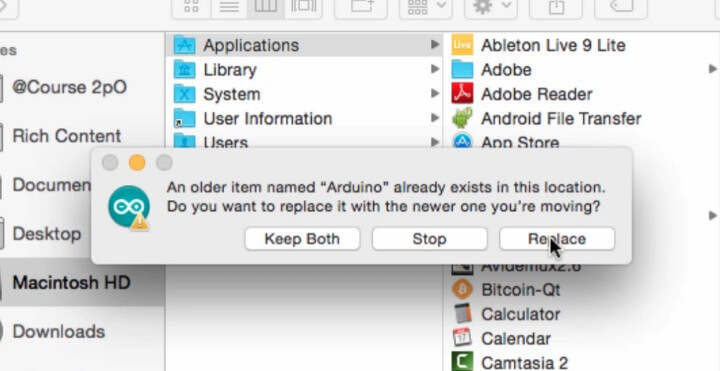
My recommendation is to select “Replace” to uninstall the older version. It will not harm anything or delete any work you have done.
It simply gets rid of the older Arduino IDE, not your sketch folder. If you don't know what that means, it’s not important. Just know that you will not lose anything if you uninstall.
Next, it will run through the uninstallation process. Once completed, you can see that the Arduino icon is in the Applications folder on my Mac. Right-click on this and choose to open it.
It's going to give me a prompt the first time I open up the Arduino IDE.
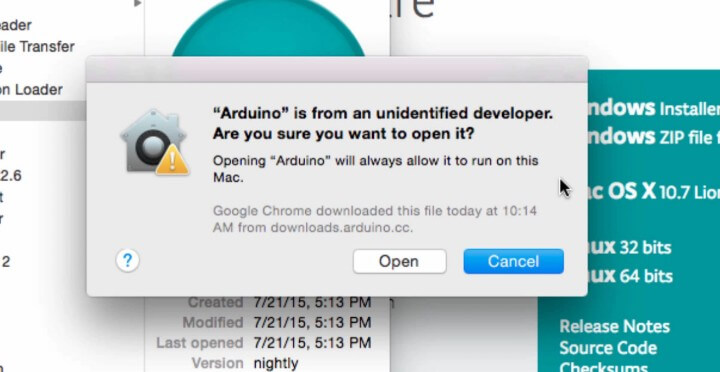
It double check whether or not you really want to open it since it is from an unidentified developer. Just click “Open”.
By the way, if you try to open the Arduino icon from the Applications folder in your dock, you may not even get an “Open” option. In this case, locate the Arduino icon in the Finder and right click to open.
Set Preferences for Arduino IDE
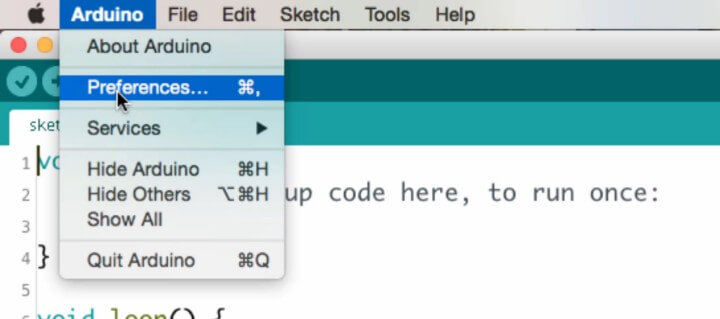
Now that the Arduino IDE is open, maximize it. In another video, we'll discuss how this works in-depth, but for now I just want to set some preferences.
Go up to Arduino, then click “Preferences”.
Probably the most important thing to look at is the first line that comes up - the Sketchbook location.
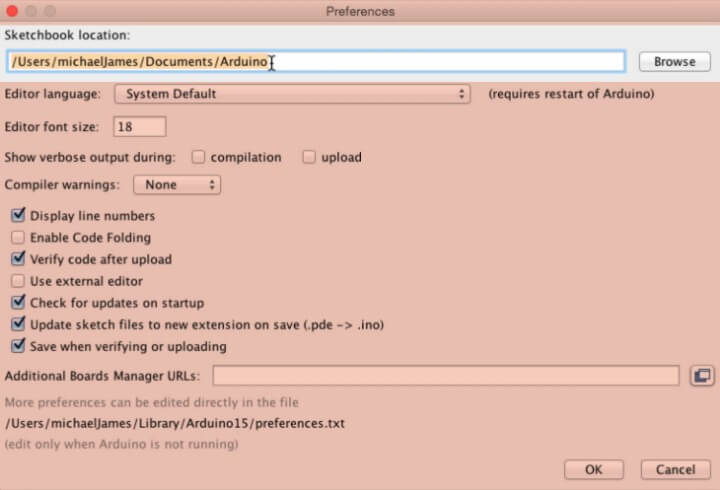
When we write a program in the Arduino IDE, it's called a sketch. All sketches are saved within a Sketchbook.
The Sketchbook is a folder where you can to keep all of your work. The default location is usually under Users\The User’s Name\Documents\ and then a folder created that is named Arduino.
If yours does not look like this, or if you would prefer the Sketchbook folder be in a different place, you can browse to select a different location.
I would definitely recommend using a folder named Arduino. This default location has always worked pretty well for me.
The next preference to set is the Editor language. You can pick from a bunch of different languages. I'm using English, obviously.
Another setting is editor font size. The default is 12, but I prefer a larger font. Font size 18 works very well for me.
Be aware that sometimes if you make the font too big, you'll see that one line actually gets written overtop of the other. Therefore, you might have to play around with font to find your optimal size.
There are a few other things that I think are good to set in preferences. One is whether or not to display the line numbers.
I suggest you check the box for this. It means that each line of your program, or sketch, will be displayed on the left side of the Arduino IDE.
Another preferences I suggest you choose is to verify the code after upload. This won't mean anything to you now, but you’ll see later why this it’s an excellent idea to check this feature.
The next setting I usually choose is to check for updates on startup. It's not imperative. You can check or uncheck this box depending upon your own personal taste.
It depends on whether or not you want to stay with the same current version the whole time. If you just want the most updated version, you can keep that box checked.
I do recommend, however, keeping the “Update sketch files to new extension” checked.
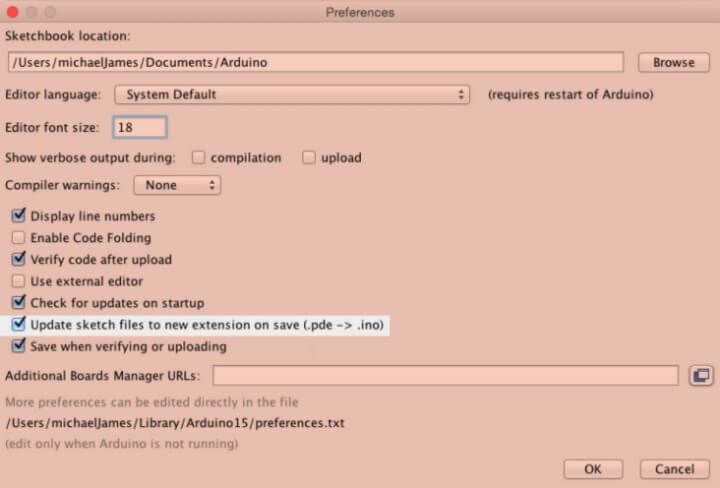
Basically, this means that whenever you open an Arduino file, it ensures that if the file doesn’t have the proper extension, then that file will automatically be converted to .ino.
Arduino files used to have a .pde extension. However, now they are .ino files. That’s why it’s handy to keep this option active.
Finally, I think having the last preference chosen is also a good idea. That setting is to save the file when you are verifying or uploading.
Again, we'll talk about verifying and uploading in depth in later lessons, but just take my word for now that it is always good practice to save as frequently as possible.
Going Old School
Not all versions are the same. It could be that maybe you prefer the look and feel of a previous version. Or maybe you’re just really familiar with and used to working within the framework of a certain version.
If you prefer to download and use a previous version of Arduino, never fear. We have a solution for you that like to go old school.
On the Arduino website for downloads, look to the bottom right panel. There is the section for previous releases.
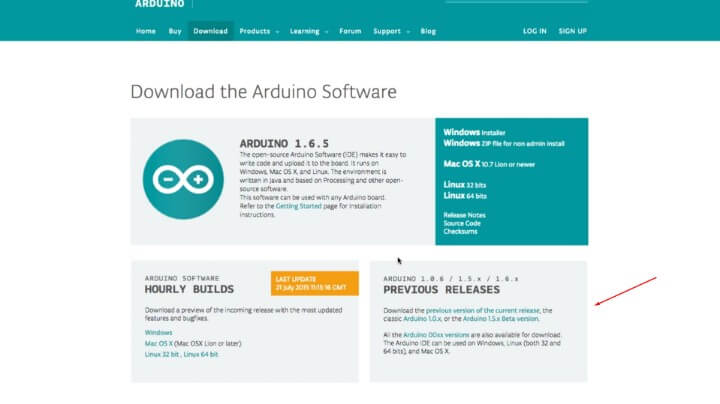
Clicking that will show you a list of all previous releases for each type of operating system, along with the date they were released. Click which you prefer, and from there downloading is the exact same process as before.
Again, this lesson applies to those who own Macs. If you are using a PC, you can go back one lesson and see this same download, installation, and preference concept for your particular operating system.